


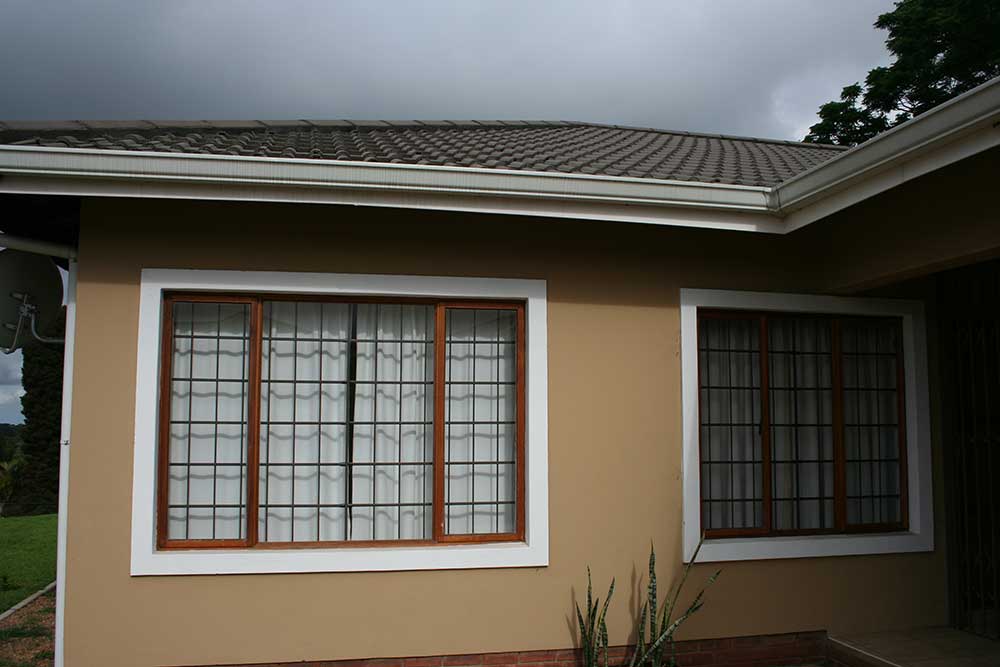

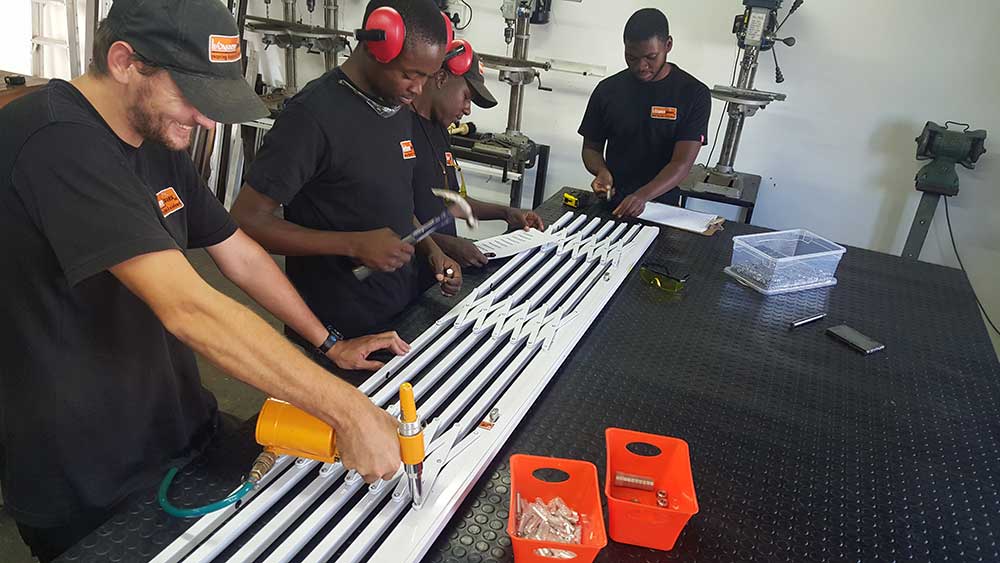
Most people think slapping burglar bars onto aluminium windows is straightforward—drill a few holes, tighten some bolts, job done. They’re wrong, and that mistake could cost you everything. Proper installation demands precise measurements, corrosion-resistant materials, and drilling techniques that won’t compromise your frames. Get it wrong, and those bars become nothing more than an expensive illusion of security. This guide breaks down every critical step, so your windows become the genuine barrier they’re meant to be.
Understand Burglar Bar Types and Choose What Fits Your Window
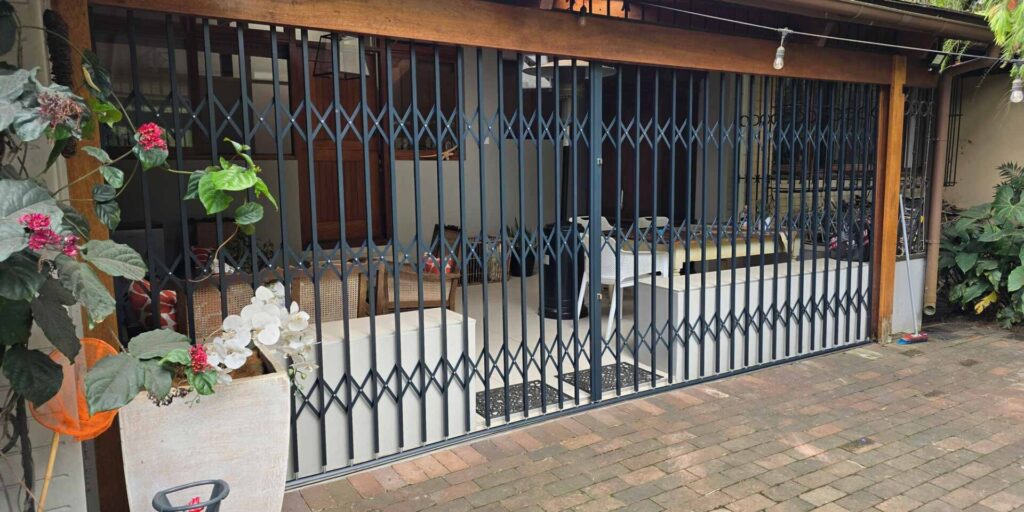
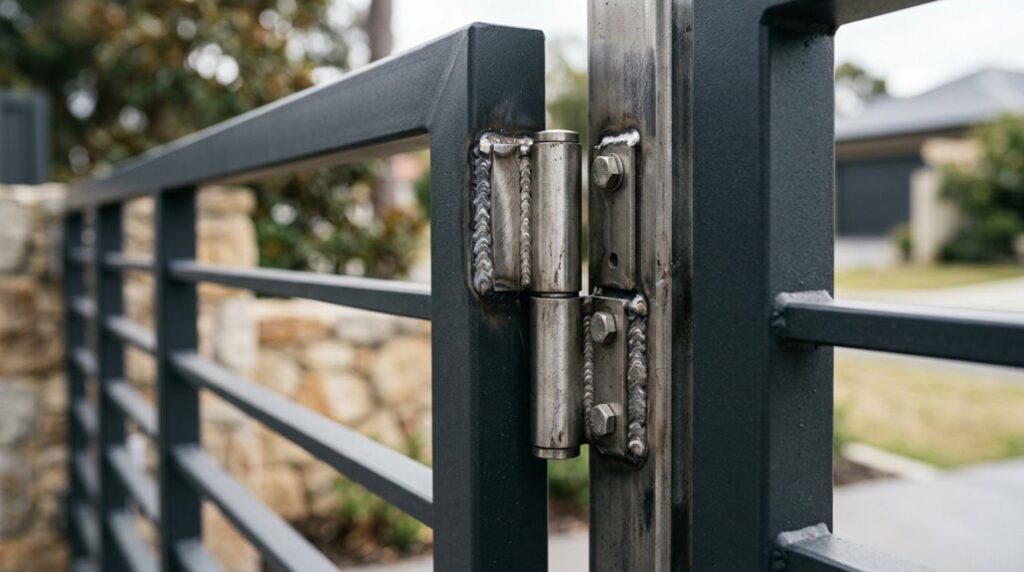
When you’re installing burglar bars on aluminium windows, your first decision is choosing the configuration that best meets your security needs and lifestyle. Fixed bars offer permanent protection by being welded or bolted to your structure. Retractable bars slide open whenever you want an unobstructed view or improved ventilation. Hinged bars swing outwards like gates, making them easier to access for maintenance. Swing-away bars pivot fully away, providing an emergency escape route. Removable bars are ideal for rental properties where you don’t want permanent installation.
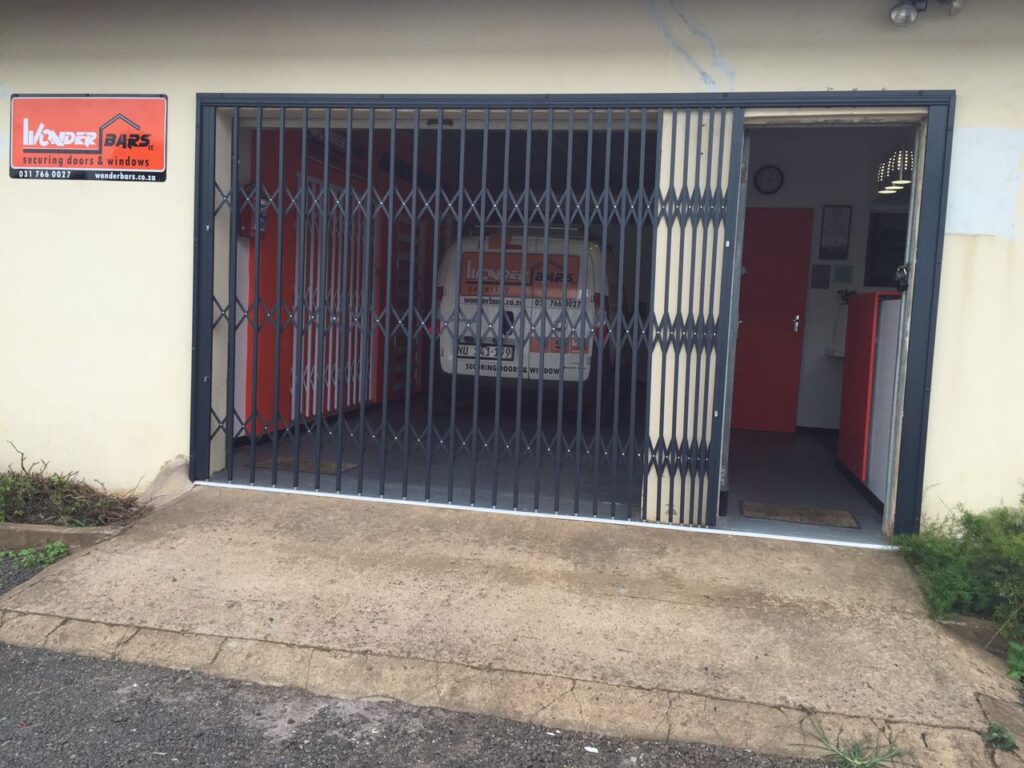
Your choice should balance security with practicality. Wonder Bars Durban specialists help residents across KZN select configurations that suit their homes. When you install burglar bars on aluminium windows, consider whether you prioritise aesthetics, emergency access, or maintenance convenience. Each configuration has distinct advantages. Available styles include horizontal bars, cottage pane bars, trellis fixtures, and clear bar options that blend neatly with modern aluminium window frames. For the best security and fit, professional expert installers ensure the bars are installed correctly rather than trying to fit them yourself. Speaking to the experts helps you select the right solution for your specific type of aluminium window and your security requirements.
Measure Your Aluminium Window Frame Accurately
Accurate measurements form the foundation of a successful burglar bar installation on aluminium windows. You’ll be delighted with the results when you take the time to measure correctly. Correct dimensions ensure your home security South Africa project meets safety standards and aesthetic goals.
Follow these essential steps:
- Measure the height from the inside top edge to the inside bottom edge of the frame, then record the width from left to right edge at three points (top, middle, bottom) to allow for any unevenness in the frame.
- Note the maximum opening space or “danger zone” for windows that open, and record the window latch positions that determine the orientation of the bars.
- Take multiple measurements and photograph marked windows with dimensions to verify data accuracy before installation begins. Using a measuring tape helps you capture precise frame dimensions for the correct sizing of burglar bars.
Precision helps prevent costly mistakes when installing burglar bars on aluminium frames. Consulting with specialists who offer free home security assessments can confirm that your measurements are accurate before custom manufacturing begins.
Gather All Tools and Materials Before You Start
You’ll need essential drilling equipment and the right fastening materials to install burglar bars on your aluminium window frame safely and effectively.
Your toolkit should include a power drill with a masonry bit, a spirit level, an automatic centre punch, a measuring tape, and a hacksaw for cutting materials to size. For aluminium windows specifically, interior mounting to your home framework provides greater security than exterior installation methods.
You’ll also require aluminium-specific pop rivets, plastic washers with lips, non-reversing screws, and conical screw anchors for mounting to brick or masonry surfaces. For added peace of mind, choosing components that are SABS and UKAS approved ensures your security installation meets recognised quality and safety standards.
Essential Drilling Equipment
Before you begin installing burglar bars on your aluminium windows, gathering the right drilling equipment is essential to ensuring a safe, accurate installation.
You’ll need specific tools designed for metalwork to achieve professional results that complement your home’s appearance while providing reliable security.
Your drilling equipment should include:
- Corded power drill – Choose one with adjustable speed settings, particularly a lower RPM range of 200–300 for working with aluminium.
- High-speed steel (HSS) drill bits – Cobalt bits offer superior heat dissipation, helping to prevent overheating during extended drilling.
- Lubricant or coolant – Apply regularly throughout drilling to reduce friction and maintain optimum cutting conditions.
These tools work together to create precise holes without damaging your aluminium frames.
Investing in quality equipment helps ensure your burglar bars installation meets professional standards while protecting your window integrity. For homeowners with cottage pane windows, working with bespoke craftsmanship specialists ensures your bars are fabricated to match your exact window design rather than relying on ill-fitting standard options. Replace dull bits regularly to maintain safety and ensure consistent drilling performance throughout your project.
Fastening materials required
Securing your burglar bars to aluminium window frames requires specific fasteners that can withstand thermal expansion, corrosion, and tampering attempts. Aluminium pop rivets are the required fastener for this application—they are engineered specifically for aluminium frames, unlike one-way screws designed primarily for wood or steel.
You’ll need plastic washers with lips facing the rivet head to ensure a secure fit for each bar. Nylon cap springs go with pop rivets, covering the fastener ends and preventing corrosion or tampering. Plastic cap covers (available in white, silver or brown) conceal the fasteners after installation, maintaining the look of your security system. Each kit includes all necessary installation hardware to complete your burglar bar setup without any extra purchases.
Drill holes should be 6mm in diameter—at least 0.5mm larger than the fastener to allow for thermal expansion and contraction. Position the holes between 10mm and 20mm from the bar edge to help prevent splitting. These specifications ensure a great result, combining durability with a seamless integration into your home’s architecture. When planning your installation, it’s also worth noting that fire escape considerations are critical, particularly for burglar bars fitted to windows in sleeping areas, to ensure occupants can exit safely in an emergency.
Mark and level your bars before drilling
With proper marking and levelling, your burglar bars will sit perfectly straight and secure within your aluminium window frame.
Before you drill, you’ll want to complete these essential steps:
- Position your bars and use a spirit level to verify they’re straight both vertically and horizontally, preventing structural weakness.
- Mark the screw hole locations with a pencil or marker, ensuring all marks stay at least nine millimetres from the frame’s edge to avoid splitting the aluminium.
- Use an automatic centre punch to create small indentations in the aluminium, which prevents your drill bit from wandering during the actual drilling process.
Check that your marked positions align correctly and that the bars don’t interfere with window operation. For aluminium windows, you’ll need to use aluminium pop rivets to fasten your burglar bars securely once drilling is complete.
Verify that the window latch remains accessible. If you’d prefer a more comprehensive security solution for your property, swing gates for doors can complement your burglar bars by providing an additional layer of protection at entry points. Once you’re satisfied with the layout, you’re ready to proceed with drilling.
Pre-drill holes and prepare aluminium surfaces
Before you drill into your aluminium window frame, you’ll use a centre punch to create a small indentation at your marked points, which prevents the drill bit from slipping across the smooth metal surface.
You’ll drill at low speed with high pressure using sharp steel bits matched to your fastener diameter, maintaining at least 9 millimetres distance from the frame edge to preserve structural integrity. Self-drilling screws eliminate the need for pilot holes, streamlining your installation process.
Getting the hole depth right—drilling approximately one inch deeper than your screw length when anchoring into masonry—ensures your burglar bars sit securely without creating weak spots in the frame. For a more flexible approach to home security, retractable trellis doors offer an alternative that combines robust protection with smooth operation and custom finishes to suit your property.
Centre Punch Technique
Precise hole placement begins with proper centre punch technique, which creates a guide indentation that prevents your drill bit from wandering across the soft aluminium surface. You’ll achieve the best results by following these steps:
- Scribe cross-hair lines on the aluminium to establish your exact centre point for drilling.
- Use a 60-degree tip-angle centre punch with a sharp point to create a distinct indentation.
- Apply light pressure at first to avoid deforming the thin aluminium frame material.
Roll the punch like a pencil to position it accurately rather than holding it rigidly. Start with a light pinprick using a scriber before striking the main punch.
Secure your aluminium window frame on a stable work surface with clamps to prevent movement during punching. Realign and repunch if the mark is off-centre. When selecting materials for mounting burglar bars on aluminium windows, opt for high-quality durable materials that withstand both weather conditions and external pressures over time. If access to a milling machine or drill press is available, consider using a centre drill as an alternative to manual punching for superior accuracy and consistency.
Proper Drilling Depth
You’ll now move on from marking your drilling points to creating holes that securely hold your burglar bar fixings. Drilling depth determines whether your security installation succeeds or fails.
Set your drill’s depth stop to penetrate the full thickness of the aluminium profile wall, then extend it by an additional 1–2mm for optimal screw locking. Aim for approximately one-third to one-half of your screw’s total length as your drilling depth. Mark this target depth on your drill bit using tape—this visual reference will help you monitor penetration as you work.
Drill slightly deeper than the fastener’s total length. This extra space ensures your screws anchor securely within the frame without compromising structural integrity.
Deburr the hole edges immediately after drilling to remove any sharp points. Apply a rust-inhibiting primer to the fixings to prevent galvanic corrosion and ensure long-lasting security performance. If you’re unsure about materials or need professional guidance, steel and polycarbonate options each require different fixing considerations depending on the burglar bar system being installed.
Fasten your burglar bars to aluminium frames
Once your burglar bars have been cut to the correct dimensions, the fastening process begins with careful measurement and marking of your aluminium frame. You’ll now secure your bars using the right materials and techniques.
Fastening your burglar bars properly guarantees they provide reliable security:
- Use only stainless-steel pop rivets, avoiding aluminium rivets that lack the necessary strength for security applications.
- Select anti-tamper security screws with unique drive designs that resist unauthorised removal attempts.
- Insert plastic washers with the lip facing the rivet head before placing the rivet through the bar.
Maintain fixing point spacing of 10–12 cm for ideal polycarbonate bar security. Fit plug caps over the plastic washers to cover the fastening points and prevent corrosion. Your installation now provides a great result, combining aesthetic appeal with strong physical protection.
Test your window operation and make final adjustments
After securing all your fasteners and fitting plug caps, the real measure of success comes down to how well your window operates with the burglar bars in place. Open and close your window multiple times to confirm smooth operation. You’ll want to verify that the quick-release mechanism still works without resistance after the final tightening. Make minor bracket adjustments if you notice any binding or stiffness during movement.
| Check | Action | Expected result |
|---|---|---|
| Window operation | Cycle open/close 5 times | Smooth, unrestricted movement |
| Quick-release | Test latch mechanism | Opens instantly without tools |
| Bar stability | Apply firm pressure | No movement or rattling |
| Clearance | Measure gaps | ½-inch maintained throughout |
Perform a final visual inspection of all components. Ensure that the set screws lock the bars in their final position. You’ve achieved a great result when your window operates flawlessly while maintaining maximum security.
Maintain Your Burglar Bars to Prevent Rust and Loosening
Proper maintenance protects your burglar bar investment and ensures your security system remains effective for years to come. You’ll maintain peak performance through three essential practices:
Proper maintenance protects your burglar bar investment and keeps your security system effective for years to come.
- Inspect monthly – Use a torch to examine corners, welded joints, and surfaces for reddish-brown spotting or bubbling paint. Run your fingers along the bars to detect rough patches that reveal early rust.
- Clean promptly – Use a wire brush to remove light surface rust as soon as you discover it. For stubborn corrosion, apply a phosphoric acid-based rust converter. Wear protective gloves and eyewear during chemical treatment.
- Recoat regularly – Apply zinc-rich primer, followed by two coats of oil-based enamel. Finish with a clear polyurethane sealant on joints. In coastal areas, reapply annually; in moderate climates, recoat every two years.
Check all bolts and brackets monthly for corrosion or stripped threads. This preventative approach keeps your security bars functioning reliably while maintaining their aesthetic appeal throughout their lifespan.
Think your windows are safe just because they are shut tight? Think again. Discover exactly how to fortify your glass with our guide to the ultimate window security solutions designed to keep uninvited guests firmly outside.