

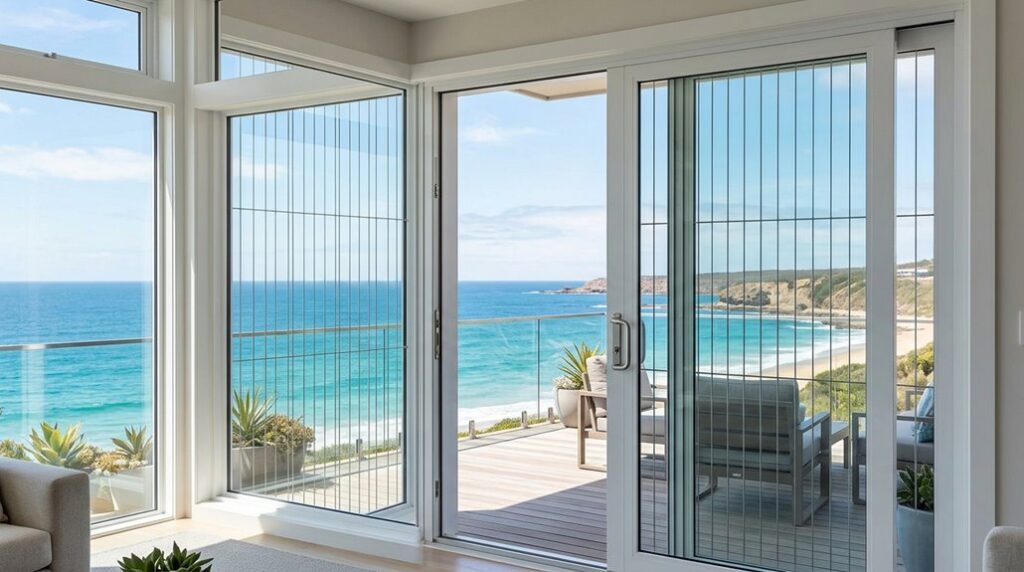
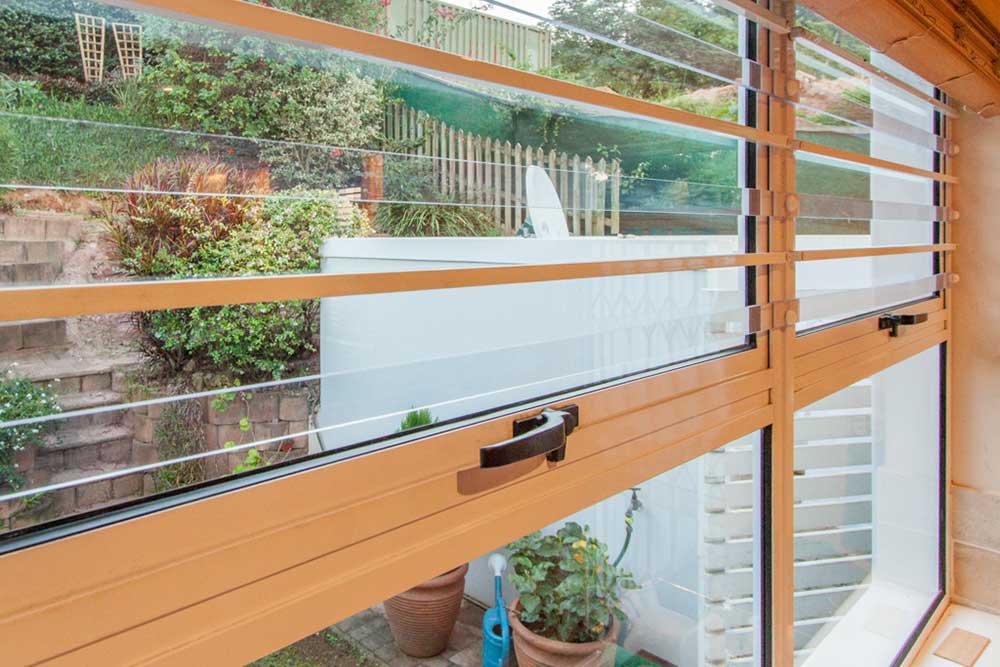
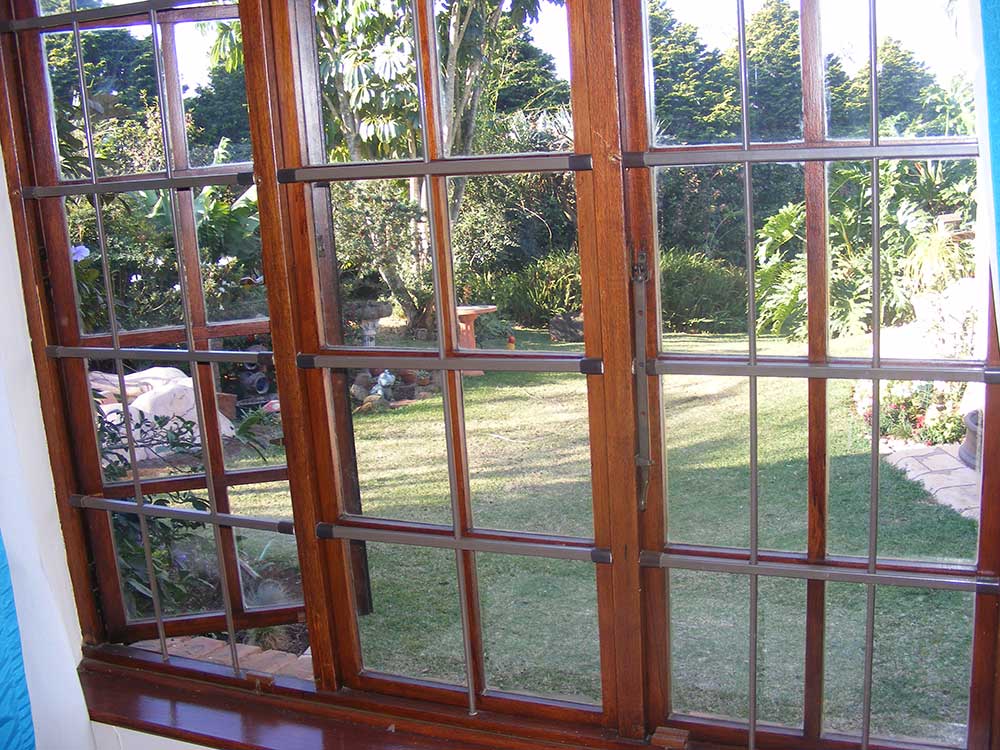
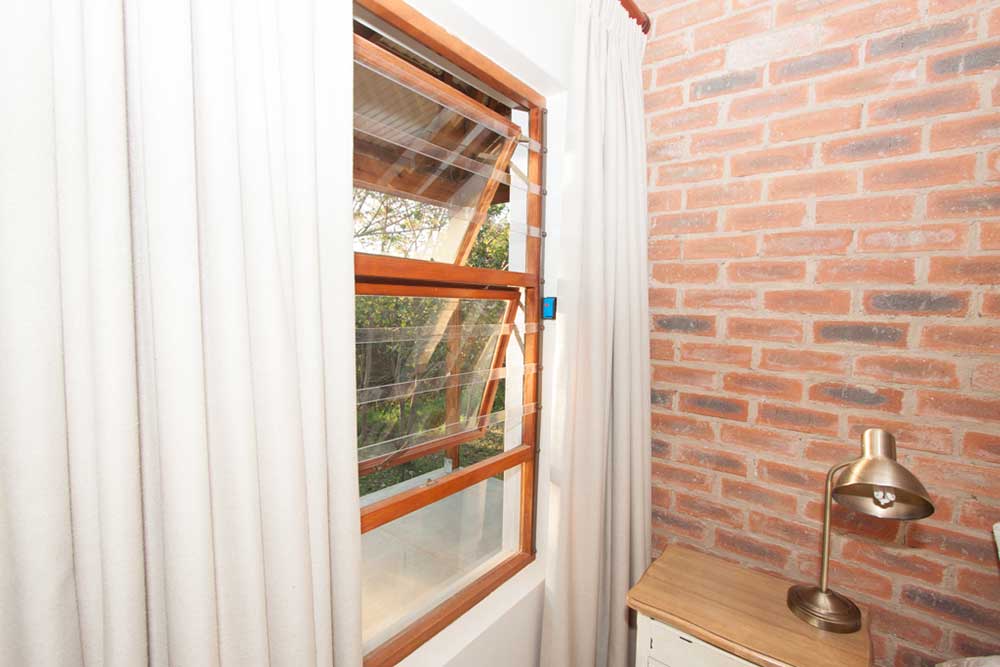

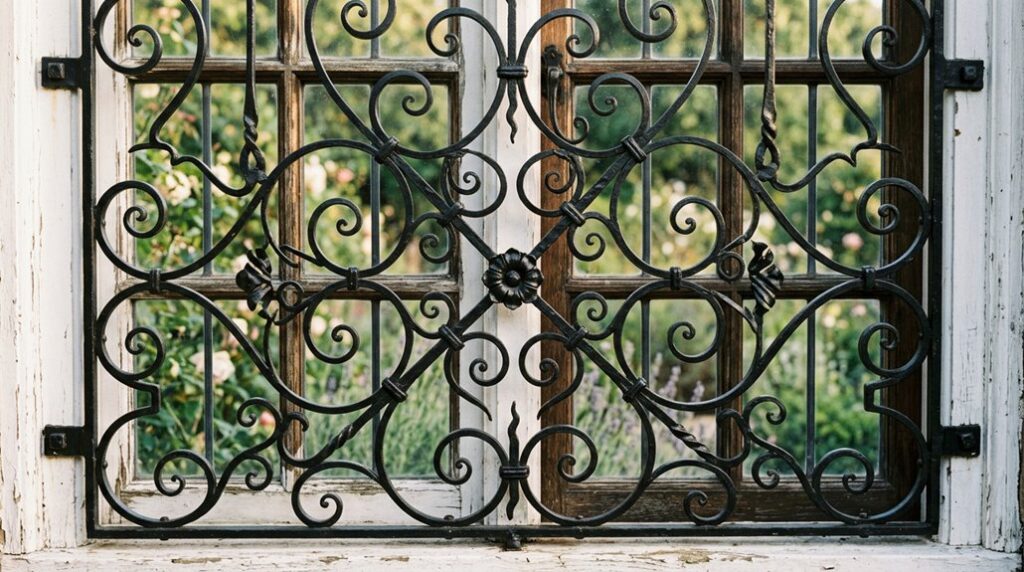


Most people assume burglar bars are just bolted on and done. They’re not. Installation day is a precise, methodical process—technicians measure your window up to nine different points, document reveal positions, and make one critical decision that determines whether your bars actually hold under pressure. Get that four-inch glass setback rule wrong, and your entire security system is compromised before it even starts. What happens on day one matters far more than most homeowners realise.
Measure Your Window Precisely to Fit Burglar Bars Correctly
Because incorrect measurements can cause installation failures and compromise security, you’ll need to take accurate frame dimensions before ordering your custom burglar bars from Wonder Bars.
Measure your window width at three points: bottom, middle and top. Record the smallest value as your official width. For height, measure the left side, centre and right side from the cill to the lintel, using the smallest measurement.
Check the diagonal measurement from the top-right to the bottom-left to identify any unevenness in the frame. This installation guide ensures your burglar bars KZN fit perfectly.
Check your installation plane: the inside face, outside face, or window reveal. Make sure there is at least 20mm of fitting space on the frame for a direct fit installation. For alternative products such as EziBar, ensure you have 25mm of reveal available for proper installation. Record all measurements with a photograph, then send both to Wonder Bars Durban for professional verification before fabrication begins. Wonder Bars uses SABS and UKAS approved materials to ensure every custom burglar bar solution meets rigorous standards for durability and strength.
Gather essential tools before installation day
Successful burglar bar installation depends on having the right tools on hand before the technician arrives. You’ll need a measuring tape, a spirit level, and a pencil to mark precise locations. A flathead screwdriver and a drill driver with a 2mm wood bit are essential for pre-drilling and fastening.
Your bar installation success also relies on matching fixings to your frame material. Wooden frames require one-way screws, while aluminium windows need pop rivets. Masonry surfaces demand conical screw anchors and a power drill with a masonry bit.
Prepare your window frame by scrubbing it with warm water and mild detergent, then rinsing thoroughly. Having these tools ready ensures your home security South Africa project runs smoothly and that your burglar bar installation meets professional standards. A personalised consultation with a professional can help you determine which specific tools and fixings are best suited to your home’s unique frame materials and security requirements. Remember that one-way screws are specifically designed to make removal extremely difficult, providing an additional security layer beyond physical obstruction.
Check local building codes and regulations
Before your Wonder Bars technician arrives, you’ll need to verify that your burglar bar installation complies with South African building regulations and local municipal bylaws. This guide will outline which requirements apply to your specific property type and location.
| Requirement | Residential | Commercial |
|---|---|---|
| Permit Needed | Yes | Yes |
| Emergency Release | Required | Location-dependent |
| Inspection Required | One final | One final |
| Smoke Detectors | Mandatory | Mandatory |
| Window Openability | 5–5.7 sq ft minimum | Local codes apply |
Contact your local municipality to confirm zoning restrictions and safety standards. Bedroom windows require quick-release mechanisms that can be operated without keys or tools. Your technician will verify all specifications before installation. Wonder Bars offers bespoke custom designs fabricated to perfectly match your existing cottage pane window grid patterns while meeting all regulatory requirements. The permit cost is $88, which includes the $70 base fee plus an $18 processing fee. Compliance guarantees your home meets both security and emergency egress requirements, protecting your investment and your family’s safety.
Choose Interior or Exterior Mounting for Your Situation
You’ll need to measure your window openings carefully because internal mounting requires around ½-inch clearance inside the frame, while external mounting demands precise spacing around the window’s structural framing members.
Your latch orientation—whether you prefer quick-release mechanisms for emergency escape or permanent security—will materially influence whether internal or external installation suits your home better. Internal bars can be more discreet and blend with existing décor compared to external options that may detract from your home’s front appearance.
Moreover, external bars allow for wider spacing between crossbars (up to 15–20 inches apart), whereas internal bars must maintain tighter 4–6 inch vertical spacing to prevent intrusion while preserving visibility and airflow.
Regardless of which mounting style you choose, working with an experienced installer ensures your bars are fitted using SABS and UKAS approved components that meet industry safety and quality standards.
Interior Mounting Measurement Requirements
Proper measurement forms the foundation of a successful installation of interior burglar bars, and taking the time to record exact dimensions helps prevent costly mistakes during fabrication and fitting.
Measure your window frame at three points—top, middle and bottom—recording the narrowest width measurement. Round all dimensions down to the nearest 1/8 inch to ensure a proper fit without binding. Height measurements should use the tallest value to maintain vertical alignment throughout the frame. Use wall studs as the only structural support strong enough to anchor the burglar bars securely to your mounting surface.
| Measurement Type | Location | Recording Method |
|---|---|---|
| Width | Top, middle, bottom | Narrowest value |
| Height | Left, centre, right | Tallest value |
| Depth | Three positions | Round down 1/8 inch |
| Clearance | Mantel area | Minimum 4–8 inches |
| Trim space | Sides and top | Minimum 1 inch |
Document all measurements before drilling. Confirm stud positions and wall thickness requirements for your mounting surface. Create a cardboard template matching the exact bar dimensions to visualise placement accurately. Bars made from robust and durable materials require precise clearance measurements to ensure smooth operation and a proper fit within the frame.
Exterior Mounting Spacing Standards
External burglar bars require precise spacing and clearance measurements to guarantee thorough window protection while meeting South African building codes and safety standards. Your bars must extend a few inches beyond the window opening on all sides for complete coverage. Side gaps should match or stay smaller than the spacing between the vertical bars themselves.
Bar spacing depends on your fixing point distance:
- Fixing points under 700mm apart: maximum 120mm spacing
- Fixing points over 700mm apart: maximum 100mm spacing
- Fixing points over 1000mm apart: maximum 100mm spacing plus mandatory cross sections
Your window frame must exceed 20mm width for direct installation. Narrower frames require additional tubing. Custom bars design for a proper fit for non-standard dimensions, supplying security that blends seamlessly with your home’s architecture. A free on-site assessment can help determine the most suitable bar configuration and mounting approach for your specific property. Internal face-fixing secures bars to the frame or wall from the inside, keeping fixings invisible from the exterior and offering more robust protection than external mounting methods.
Latch Orientation Impact Selection
When installing burglar bars, choosing between internal and external mounting significantly affects both security effectiveness and how well they blend aesthetically with your home.
Your door’s swing direction determines which mounting option provides better leverage for latch operation. Internal mounting prioritises security visibility from inside your room. External mounting conceals latch mechanisms from potential intruders outside your door. Building regulations in your area may require internal-only mounting for certain doors. Personal preference for discreet hardware appearance often influences your choice between visible and concealed mounting. To prevent the latch from binding against the strike plate, check that the latch fully retracts and extends smoothly during your installation preparation.
Whatever mounting option you choose, fire escape considerations should remain a priority to ensure occupants can exit safely from sleeping areas in an emergency.
| Mounting Type | Primary Advantage | Security Consideration | Aesthetic Benefit | Best For |
|---|---|---|---|---|
| Internal | Direct access control | Visible reinforcement | Modern appearance | Contemporary homes |
| External | Hidden mechanisms | Concealed hardware | Seamless integration | Heritage properties |
| Internal + External | Maximum security | Dual protection | Professional finish | High-risk areas |
| Internal Only | Code compliant | Standard protection | Clean lines | Commercial spaces |
| External Only | Discreet design | Concealed strength | Invisible security | Period homes |
Wonder Bars designs bespoke solutions to match your specific requirements and design style.
Plan anchor points based on your wall type
The foundation of a secure burglar bar installation rests on understanding your wall’s construction and structural capacity before you drill a single hole. Your wall material—concrete, brick, block, timber stud, or plasterboard—determines which fixings you should use and how many you’ll need.
For timber-framed walls, locate the studs using a digital stud finder in deep-scan mode. Verify the positions by drilling 2 mm pilot holes every 25 mm across your mounting zone. Use 80 mm structural lag screws (grade 8.8 or higher) for direct timber anchoring.
Concrete, brick, and block walls require rawl bolts (6×10 mm). Always choose anchors independently tested to ASTM F1818 or EN 16555 standards. Plan for a minimum of six anchor points—eight provides improved security. Space vertical pairs at least 150 mm apart to distribute stress effectively. If you’re unsure about your wall type or anchoring requirements, consult a professional security solutions provider before installation to prevent costly structural mistakes.
For spans exceeding 1 metre across, rawl bolting into the wall rather than fastening into wooden frames significantly enhances security performance.
Position bars four inches from glass
You’ll set your burglar bars exactly 4 inches (approximately 120 mm) from the glass surface to safeguard against thieves reaching through and operating window latches or inserting tools.
This precise spacing requires you to use a measuring tape to verify the distance, a spirit level to ensure the bar remains straight, and a marker to transfer the offset position to your frame before drilling.
You’ll then confirm that the 4-inch gap remains consistent along the entire length of the bar—checking both the top and bottom—to maintain uniform protection while allowing your window to open fully for emergency escape. If you live in an area with wildlife concerns, pairing your burglar bars with transparent monkey proofing barriers can provide dual protection against both human intruders and vervet monkeys without obstructing your view.
Glass Protection And Safety
Positioning burglar bars by a minimum of four inches (approximately 100mm) away from glass surfaces is a critical safety requirement that protects both the structural integrity of your windows and the people in your home. This spacing prevents direct contact between the bars and glass, reducing thermal stress and impact transmission during attempted break-ins.
Wonder Bars’ custom installations maintain this precise distance to ensure your barriers perform optimally. The gap allows the glazing to move independently without compromising the bar structure. Your glazing bars must have a face width of at least 40mm (±3mm) and attach firmly to the support stiles.
Clips securing infill panels must be positioned around the perimeter at maximum 600mm spacing, with each clip extending at least 25mm over the glass surfaces. This professional configuration delivers excellent results for lasting protection and safety compliance.
Proper Spacing Measurement Techniques
Getting your burglar bar spacing right starts with understanding why that four-inch setback from your window glass matters so much. This gap prevents intruders from reaching the glass or releasing mechanisms from outside. You’ll measure from the glass face to the closest point of each vertical bar, keeping a consistent clearance across the entire window.
Start by measuring from your window’s centre outwards to both sides. Place one central bar at the midpoint, then position additional bars at 150mm (6-inch) intervals. This spacing represents the distance from the centre of one bar to the centre of the next.
Calculate the total number of bars by dividing the distance from the centre to the edge by 150mm, rounding as appropriate. Ensure the distance between your window edge and the closest bar’s centre does not exceed 150mm for optimum security coverage.
Alignment Verification With Level
Once your spacing measurements are complete and the bars are positioned correctly, the next critical step involves verifying alignment with a spirit level before you mark any hole positions.
Position the bars approximately 100 mm (4 inches) from the glass for child safety applications. Use your spirit level to confirm that the bar is perfectly level both vertically and horizontally within the window frame. This verification helps prevent gaps that compromise security or safety.
Hold the bars steady using a clamp or assistant during this process. Check levelness after placing the bars in the frame to confirm a secure fit within the framing members. Ensure that the distance from the window edge to the centre of the closest bar aligns with local building regulations.
Carry out a final level check immediately before marking screw hole positions. This precision helps prevent installation errors and ensures proper locking functionality.
Fasten bars with security screws and bolts
Securing your burglar bars requires the right fasteners matched to your specific window frame material . You’ll achieve a great result by using hardware designed for your particular installation. Wonder Bars supplies tamperproof fasteners engineered for durability and security.
Secure burglar bars with tamperproof fasteners engineered for your specific window frame material and maximum home protection.
Select the appropriate fastening method for your frame type:
- Wooden frames: Use pre-drilled standard screws with a flathead screwdriver for initial positioning
- Aluminum frames: Install aluminium pop rivets to prevent frame damage and slipping
- Metal frames: Apply tamperproof nuts and bolts for maximum resistance to cutting
- Swing gates: Use snap-off security bolts with a 17 mm socket spanner, avoiding excessive force
- Masonry surfaces: Drive non-reversing security screws into hammered anchors within pilot holes
You’ll insert screws initially with a slide turn technique to hold bars steady. Final tightening engages the one-way head design securely. This fastening approach delivers the security and longevity your home deserves.
Build an Emergency Escape Gate Into Your System
While your burglar bars provide sturdy protection through quality fasteners and materials, they should not compromise your ability to exit safely during an emergency.
Wonder Bars integrates fire escape gates into bespoke security systems, ensuring dual functionality. These gates meet local fire safety codes and building regulations while maintaining an attractive appearance.
Your emergency escape gate requires specific design features. The gate must allow a continuous 1/4-inch gap with 3/4-inch depth between the gate and the window frame. Emergency exit buttons need latching release facilities that remain disengaged for at least 3 minutes.
Exit buttons must be visible, large enough to press with a closed fist, and positioned within 1 metre of the door handle at a maximum height of 1 metre. This arrangement ensures rapid, reliable emergency access when it matters most.
Avoid Six Critical Installation Mistakes
Professional burglar bar installation demands precision at every stage, and even small oversights can compromise your home’s security or create installation headaches down the line.
You’ll want to avoid these critical mistakes:
- Measurement errors: Measure between the inside frame edges, not the glass. Record the exact height and width, leaving gaps for proper bar sizing.
- Poor anchoring: Anchor bars at a minimum six points—preferably eight or more—using three to four-inch bolts into wall structure, not just wooden frames.
- Incorrect spacing: Keep crossbars no more than 15 to 20 inches apart to prevent intrusion. Reduce to 100mm spacing where fixing points exceed 700mm.
- Misinstalled location: Install bars inside windows, set back four inches from the glass. Use a spirit level to ensure straight alignment.
- Inadequate fastening: Use stainless-steel rivets exclusively. Position holes 1.5 times the bar thickness from the edges. Apply one-way screws for permanent security.
Think your windows are safe just because they are shut tight? Think again. Discover exactly how to fortify your glass with our guide to the ultimate window security solutions designed to keep uninvited guests firmly outside.