


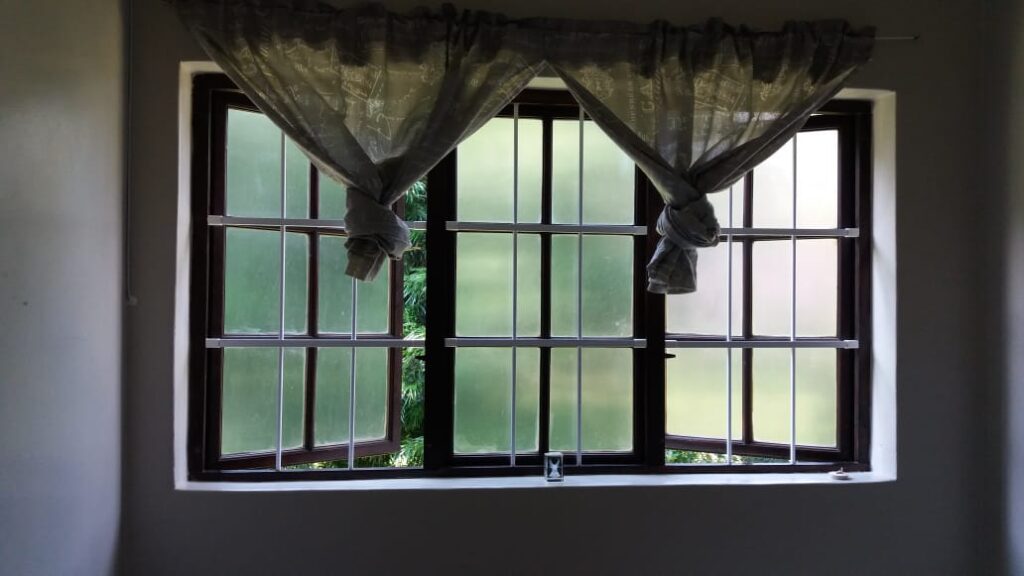

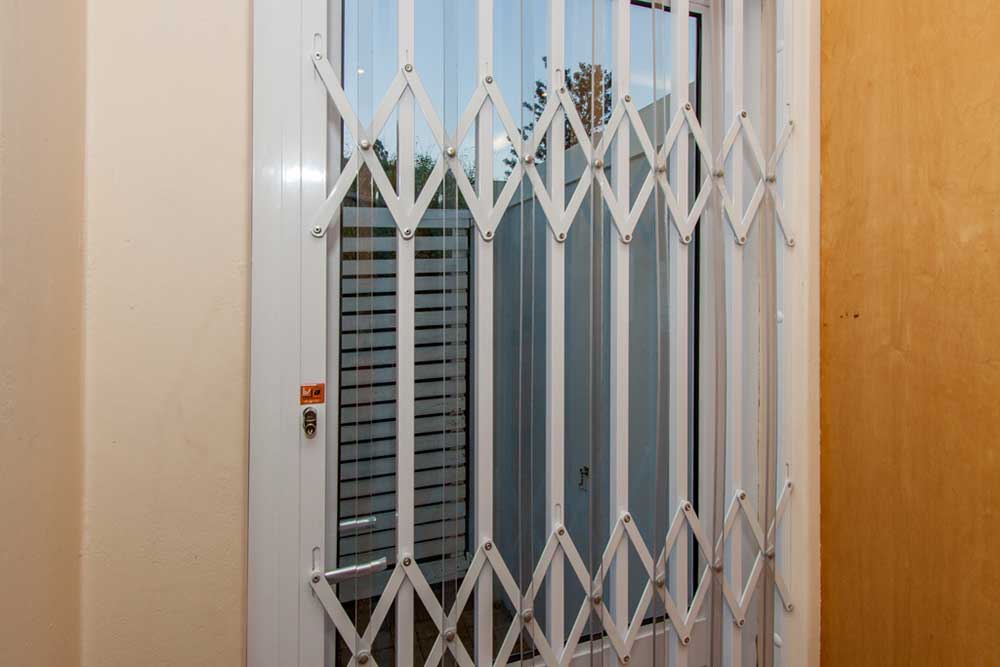
A child falls from a window every five days in America—and standard window screens are completely useless at stopping it. Most parents trust those mesh barriers with their children’s lives, not realising they’re built purely to block insects, nothing more. Retractable window restrictors change everything, merging safety with emergency accessibility in ways traditional solutions never could. But not every system works for every home, and choosing the wrong one leaves dangerous gaps in your protection.
Why Windows Pose Fall Risks: Understanding the Danger
Windows create genuine safety challenges in homes with young children, particularly those aged 2 to 5, who are naturally curious but lack an awareness of danger. Your windows require serious consideration because children in this age group represent the highest-risk demographic for fall injuries.
Children aged 2 to 5 face the highest risk of window fall injuries due to natural curiosity without danger awareness.
Standard window screens offer inadequate protection. Screens pop out easily under minimal pressure; they are designed for insect control rather than fall prevention. This creates false security for caregivers who rely on screens alone.
Environmental factors further compound these risks significantly. Furniture placed near windows—beds, chairs, climbing frames—gives access to openings that would otherwise be unreachable. In summer, the need for ventilation increases window openings, which correlates with a seasonal rise in incidents. Annual U.S. hospitalisations reach 3,500–5,000 children after falling from windows, underlining the critical need for prevention strategies.
Sliding safety requires proactive solutions. Retractable windows your home can feature can offer controlled ventilation without compromising protection. Modern retractable fittings are made from high-strength materials engineered to withstand pressure and deter unauthorised or accidental breaches. Understanding these risks helps you put effective safeguards in place for your family.
The 4-Inch Safety Standard Explained
When child safety’s on your mind, you need to grasp the 4-inch safety standard—the measurement that guides effective window protection in South African homes.
This standard mandates that operable window openings can’t permit the passage of a 4-inch-diameter sphere (102 mm). You’re protecting against child head entrapment and fall-through incidents when windows reach their largest opened position.
The 4-inch rule applies specifically to glazing between floor level and 24 inches in height. Your complete sliding window solution must meet these requirements when the exterior cill height exceeds 72 inches above finished grade, while the interior cill height remains below 24 inches.
Flexible window barriers and sliding window security devices complying with ASTM F 2090 provide reliable protection. These mechanisms automatically reset after opening, maintaining the 4-inch restriction consistently. Emergency release features ensure occupants can still access the full opening during emergencies.
For additional peace of mind, custom burglar bars and window grilles manufactured using SABS and UKAS approved materials can further reinforce your sliding windows against both security threats and accidental falls.
Why Standard Screens Fail to Stop Child Falls
Beyond their insect-blocking purpose, standard window screens simply aren’t engineered to prevent child falls—and this distinction matters greatly for your home safety strategy. You’re relying on a device designed exclusively for bug filtration, not child safety.
Standard screens fail because:
- Screen frames lack the structural rigidity to resist a child’s weight or pressure
- Fire safety codes require screens to release quickly, compromising their ability to hold
- Minimal force from a toddler dislodges screens instantly, without resistance
- Materials pop out easily under light pressure from active play
Leading paediatric hospitals explicitly warn against relying on screens as safety devices, reinforcing that they provide no genuine fall protection despite common misconceptions.
Your home security strategy in South Africa demands better solutions. Custom window grilles, window trellis installations, and retractable security bars provide the structural integrity screens can’t deliver. These engineered barriers combine aesthetic appeal with genuine fall prevention, protecting children aged 2–5 effectively during vulnerable summer months when ventilation needs peak. Reputable manufacturers back their products with a 5-year guarantee on workmanship and materials, ensuring your investment in child safety remains structurally sound and reliable for years to come.
Window Restriction Devices: Comparing Options and Standards
To protect vulnerable occupants—particularly children during peak ventilation seasons—you’ll want to understand how window restrictor devices work and which option suits your South African home best.
Key-operated restrictors lock windows to 100mm openings and require a key for full release. Keyless push-and-twist models maintain the same 100mm restriction when locked but allow unrestricted opening without a key. Adjustable restrictors allow for on-site tuning for irregular frames or varying safety requirements. Window restrictors are essential in care environments, schools, nurseries, and multi-storey dwellings to prevent falls from height by controlling sash travel.
Wonder Bars Durban specialises in bespoke security solutions that integrate window restrictor devices seamlessly with your building design. Our burglar bars KZN installations combine aesthetics with performance, ensuring your complete safety strategy functions reliably.
Devices should withstand 500 newtons of force. Stainless steel components resist corrosion in coastal or humid environments. Wonder Bars has completed over 4 000 bespoke security installations, demonstrating the level of craftsmanship and material expertise required to support a robust and long-lasting window security strategy. Your complete security plan includes planned inspections and secure key management procedures for ongoing mechanical performance.
Installing window restrictors on both sashes
You’ll install restrictors on both sashes using specific hardware mounting methods that ensure consistent safety performance across your entire window.
The process involves positioning the Insert Unit on the upper sash and the Strike Plate on the lower sash, with each component secured using precise drilling depths and screw placements. Key-operated barrel units provide childproof functionality that prevents unauthorised opening beyond the set limit.
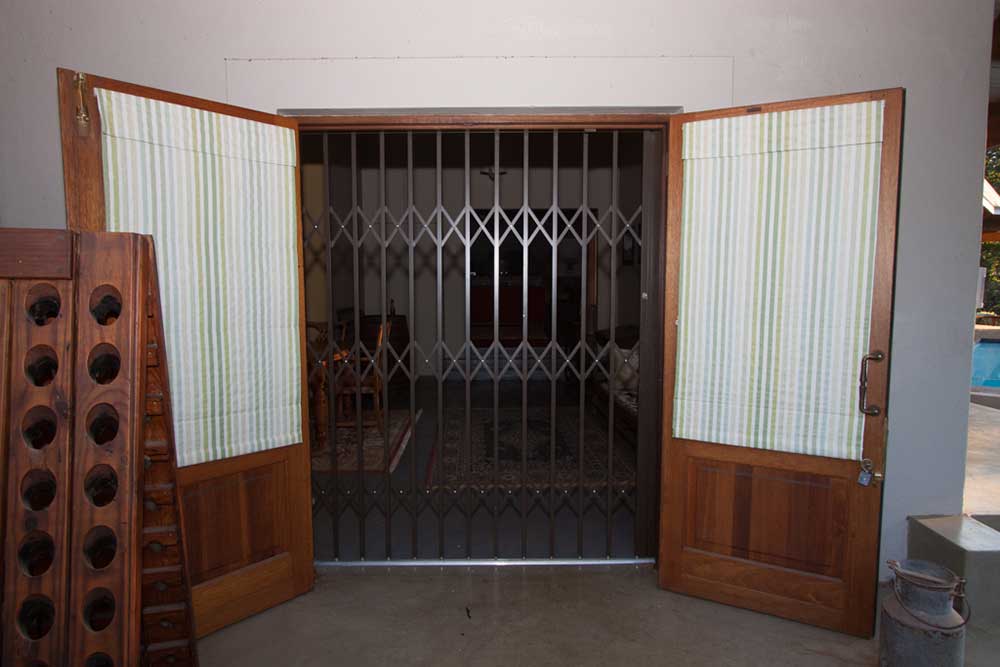
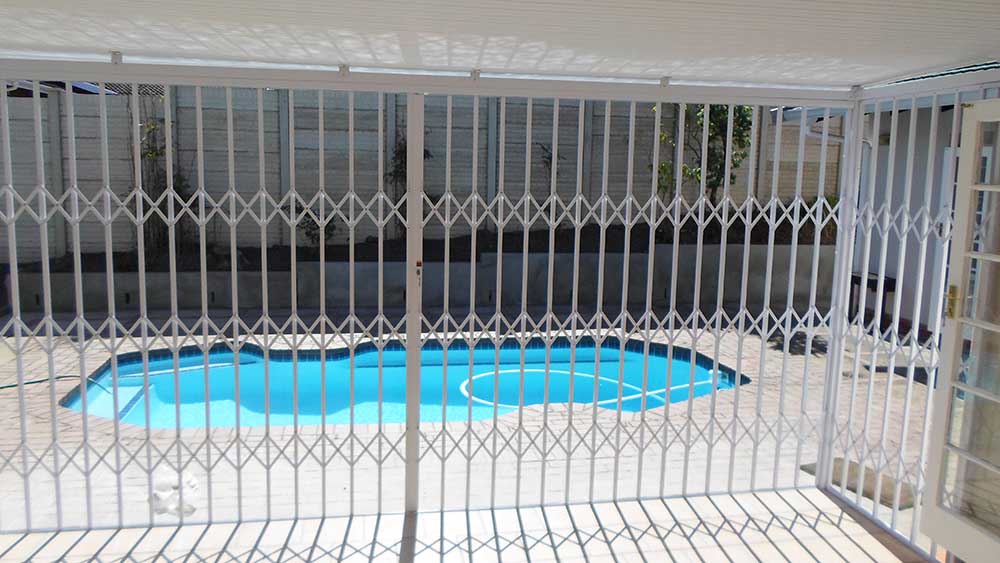
Proper dual-sash restriction keeps your window opening limited to exactly 100mm while allowing full operational functionality and smooth closing action. For broader home security, consider pairing your window restrictors with retractable trellis doors that offer flexible protection across additional access points such as patios and gardens.
Dual Sash Restriction Techniques
Protecting both sashes of your window requires installing restrictors on each one, creating a thorough safety system that prevents either sash from opening beyond safe limits.
Dual-sash configurations demand precise measurements for proper function:
- Top sash lower stop positioned at 220mm
- Bottom sash upper stop positioned at 130mm
- Second hole drilled 102mm from the secure stop for night vent operation
- Red dot orientation facing the checkrail during installation
Measure 100mm above the mid rail for restrictor placement.
Install the top sash limiter using a 10mm hole drilled 18mm deep. Sash restrictors that require a key significantly increase child safety by preventing unauthorised opening.
Retractable sash stops require 16mm by 25mm deep holes for proper insertion. For a complete security approach, pair window restrictors with robust locking mechanisms on entry points throughout your property to ensure layered protection against intruders.
After installation, verify that both sashes open no more than 100mm. Test that the restrictors catch, release, and recatch properly. Refit and test both sashes to confirm the system functions correctly.
Your dual-sash restriction system now provides consistent, reliable protection.
Proper Hardware Mounting Methods
Once you’ve established your dual sash restriction limits, proper hardware mounting forms the basis that makes your entire safety system work.
You’ll mount the restrictor arm on the opening sash while attaching the stud to the fixed frame. Position the frame stud in the channel furthest from the seal, ensuring it engages properly with the restrictor arm. On the sash side, fit the restrictor in the channel closest to the seal to prevent obstruction and maintain a snug fit within the profile. Some manufacturers fit components reversed to suit the profile, so check that your restrictor’s orientation matches your specific window design before installing.
For casement windows, install the restrictor on the hinge side, keeping the arm clear when closing. Maintain a minimum 12-millimetre clearance where the restrictor sits. This precise placement ensures smooth operation and reliable performance across both sashes. For homeowners who are also considering fixed window security solutions, bespoke craftsmanship in burglar bars ensures that protective additions integrate seamlessly with your existing window architecture without compromising its character.
Mounting Guards Into Solid Wall Framing
Proper mounting into solid wall framing forms the foundation of any reliable sliding window guard installation. You’ll achieve a secure, long-lasting installation by adhering to established structural standards.
Proper mounting into solid wall framing forms the foundation of any reliable sliding window guard installation.
Here’s what you need to know:
- Pre-drill holes in spacer boards and wall studs before inserting screws to prevent wood splitting
- Use 3.5-inch construction-grade deck screws or 3-inch Torx T25 construction screws with a minimum of three inches of penetration into the wood stud
- Install a 2×4 spacer block between the guard and wall surface to create consistent clearance
- Position two screws 1.5 inches apart on each stud, with washers behind screws to distribute the load
You’ll start by fastening spacers to the wall first, then attaching the guard bracket to the secured spacers.
Align mounting screws evenly along the retainer, spacing them roughly six to seven inches apart from the bottom. For optimal performance, ensure impact drivers are used when driving screws to maintain consistent fastening pressure and prevent slipping during installation.
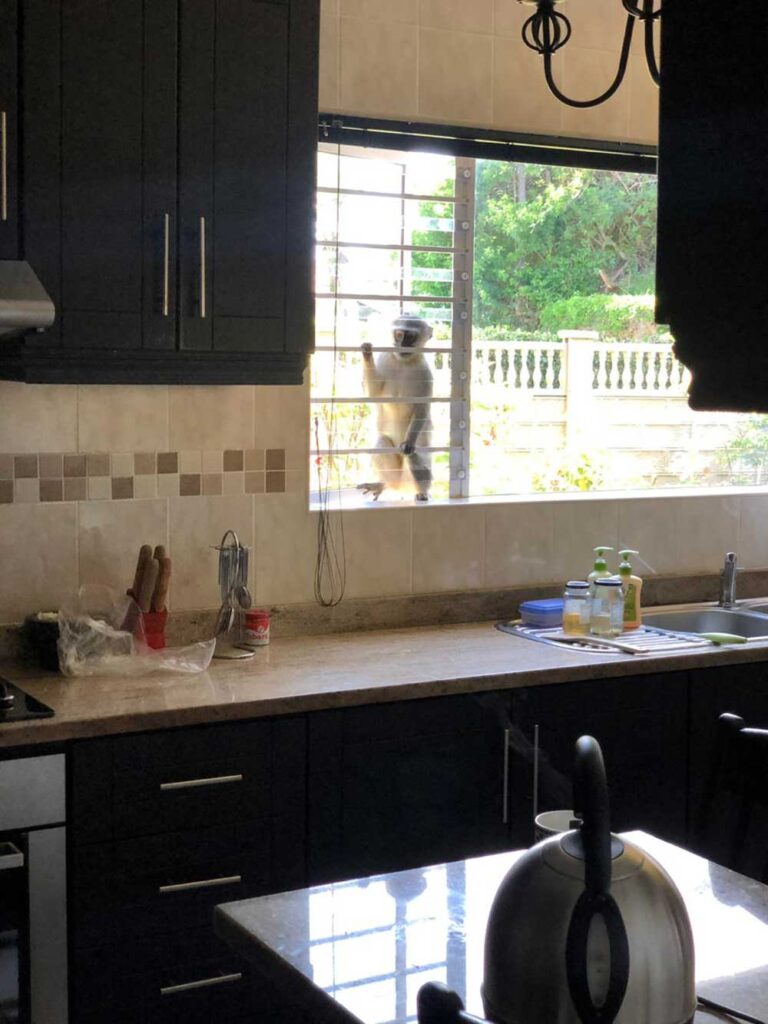
Use a spirit level to make sure of perfect vertical alignment throughout the installation. For properties in wildlife-prone areas, selecting transparent, durable materials for your window guards ensures unobtrusive protection that preserves your views while keeping unwanted intrusions at bay.
Quick-Release Mechanisms for Emergency Escapes
Every security installation must balance two critical requirements: keeping intruders out and ensuring occupants can escape quickly during emergencies.
Wonder Bars integrates quick-release mechanisms into retractable window systems, allowing you to exit safely when primary escape routes are blocked. These mechanisms operate with minimal force (less than 15 lbs) and require no keys, combinations, or special tools—critical during panic situations.
Red push-button releases and foot-activated pedals provide immediate egress. Cable-pull systems and spring-actuated fasteners offer alternative activation methods tailored to your specific needs. Quick-release mechanisms act as a visible deterrent against unauthorised entry while maintaining your escape capability.
Installation involves positioning quick-release hinges within the horizontal tube before mounting to exterior surfaces. Testing verification ensures the mechanisms function reliably when needed. Wonder Bars serves clients from their Hillcrest, KZN location, making professional installation and follow-up testing readily accessible to homeowners across the greater Durban area.
You’ll appreciate the dual functionality: robust anti-burglary protection combined with unimpeded emergency escape capability. This balanced approach protects your property without compromising occupant safety.
Clear window sills of climbing hazards
Window sills often become unintended climbing routes when furniture and debris create accessible pathways to your retractable security bars.
You’ll protect your home by removing climbing hazards systematically:
- Remove chairs, cribs, beds, and sofas positioned near windows that act as stepping stones to the sill
- Clear window sills of all items that create seats or ledges for sitting and standing
- Keep areas in front of windows clear of toys, loose rugs, and unstable furniture that encourage climbing attempts
- Make sure tables, sideboards and TV units are sturdy and cannot topple if climbed
Window screens don’t prevent climbing access, so don’t rely on them for safety.
Set up a two-foot, child-free zone near all windows.
If furniture can’t be moved immediately, wedge sturdy plywood between the pieces and the window openings to block access routes effectively.
Keep beds and furniture away from windows
Positioning furniture strategically throughout your home creates the foundation for effective window security, especially in rooms where children spend significant time. You’ll want to maintain clear distances between sleeping areas and windows to eliminate climbing opportunities. Beds, cots and other furniture must not sit within reach of window frames.
| Furniture Type | Recommended Distance | Risk Level | Action Required |
|---|---|---|---|
| Beds and cots | Minimum 10 feet | High | Relocate immediately |
| Bookcases and dressers | Away from windows | High | Anchor to walls |
| Toy chests | Minimum 10 feet | Medium | Move to safe zones |
| Chairs and stools | Away from windows | High | Store elsewhere |
You’ll also secure free-standing items with brackets or straps to prevent tipping. Keep rooms uncluttered and maintain clear pathways. These strategic placements work alongside your retractable window installations, creating all-encompassing protection for your family.
Age-Appropriate Window Safety Lessons for Children
You’ll want to teach your children specific fire escape procedures that include safely opening designated emergency windows, as this knowledge could prove life-saving during an actual emergency.
Young children need to grasp clear window limits, such as the 4-inch opening rule, so they recognise which windows are safe to operate and which ones present fall risks.
Teaching Fire Escape Safety
Preparing children to escape safely during a fire means teaching them specific skills they can carry out under stress. You should set up clear protocols your family practises regularly, ensuring everyone responds consistently when danger strikes.
Implement these essential teaching points:
- Identify two escape routes from every room, including windows if doors become blocked
- Practise crawling low under smoke to avoid dangerous fumes during evacuation
- Teach the “get out, stay out” rule so children never re-enter a burning building
- Set a specific outdoor meeting place for family reunification after escaping
You should practise your fire escape plan at least twice a year at different times. Draw a home floor plan with arrows showing both routes from each room, then hang it visibly on your refrigerator. Test the plan to make sure your whole family reaches the safe meeting place within three minutes.
Understanding Window Boundaries Young
When children grasp how windows work and what dangers they present, they’re better equipped to stay safe around them. You’ll want to establish clear limits through age-appropriate teaching methods that make learning engaging and memorable.
Use colour-based activities to improve knowledge retention for young children. Role-playing scenarios help children visualise specific dangers like jumping on beds near windows or leaning against screens. Illustrated books explain window safety rules in simple, story-driven formats that strike a chord with developing minds.
Your child should memorise these core safety rules: never trust screens to keep them inside, follow the 4-inch rule by never opening windows wider, and avoid playing or climbing on furniture near windows. Reinforce these tips verbally during daily routines to make certain consistent comprehension across different environments and situations.
Supervise play away from windows and balconies
Active supervision remains your most effective strategy for preventing window and balcony falls in young children. You are responsible for maintaining continuous oversight when children spend time near these areas. Direct supervision near dangerous heights serves as your primary defence against serious injuries.
Active supervision near windows and balconies is your most effective defence against serious falls in young children.
Implement these supervision practices:
- Keep children away from open windows and balconies during play activities
- Maintain constant visual contact when children are outdoors on balconies
- Prevent children from playing near open windows while unsupervised
- Combine active watching with environmental modifications for maximum protection
The American Academy of Pediatrics recommends pairing parental counselling with environmental changes. Your awareness and presence create the foundation for a safer home.
Children under five years old face the highest fall risks, making your vigilant supervision essential. This proactive approach markedly reduces the potential for injury in your household.
Create a two-exit fire escape plan with windows
While supervising children near windows and balconies forms your primary defence against falls, you’ll also need to plan for emergency evacuation in the event of a fire.
You should identify at least two escape routes from every room in your home, with windows serving as critical secondary exits.
Ensure the windows you choose meet specific safety standards. The openable area must be at least 0.33m², with minimum dimensions of 450mm high and 450mm wide.
The bottom edge must not be more than 1100mm above floor level. Security bars must be operable from inside without keys under all lighting conditions.
For upper-storey rooms, position windows no more than 4.5m above adjacent ground level. Install escape ladders where needed.
Establish a designated outdoor meeting point and practise your evacuation plan regularly with all family members, including those with mobility considerations.
Practice Emergency Window Opening Day and Night
Practising opening emergency windows repeatedly until it becomes second nature is your best defence against panic-induced delays during an actual fire evacuation. Your household must develop muscle memory for window operation mechanics through consistent drills and practice sessions. You will build confidence and speed by rehearsing both during daylight and in darkness, simulating real emergency conditions.
Carry out your practice drills using these key techniques:
- Open and close windows until the action becomes automatic without hesitation
- Check that windows are not nailed, painted shut, or obstructed before each drill
- Test window release mechanisms on security bars to confirm quick removal
- Practise moving to window exits in complete darkness or low-light conditions
Allow all occupants, including children, to operate latches and handles independently. Night-time drills are especially beneficial since most home fires occur when residents are asleep.
Test and Maintain Locks and Hardware Monthly
Your emergency drills prepare you to exit quickly through windows, but those windows won’t protect your home if their locks and hardware aren’t functioning properly. Test your locks monthly to catch problems early.
Start by checking that latches and cranks move easily and hold their position without slipping. Verify lock alignment keeps the sash secure when fully engaged. Test handle strength to make sure there’s no wobbling under pressure. Confirm smooth operation when opening or closing without sticking or scraping.
Listen for rattling glass or identify locks that no longer sit flush. Tighten all visible fixing screws on hinge plates and handles straight away. Replace any screw that’s rusted thin or stripped with hot-dipped or stainless replacements. Log all maintenance with photos and timestamps for your records.
Keep Window Keys and Release Mechanisms Accessible
Accessible window keys and release mechanisms form a critical safety layer alongside your monthly lock maintenance. You’ll protect your family and guarantee emergency responders can act quickly when seconds matter.
Store your restrictor keys strategically:
- Keep keys near the window handle but out of young children’s direct reach
- Use a labelled keyring attached to the window frame for immediate access
- Place spare keys in your household emergency kit in a known location
- Install a wall-mounted holder between 34″ to 48″ from the floor for easy retrieval
Never store keys in distant rooms, locked cabinets, or vehicles. You’ll delay critical access during emergencies.
Photograph your restrictor unit, keyway markings, and part numbers. This documentation helps locksmiths or manufacturers provide the correct replacements quickly. Your proactive approach ensures your retractable windows remain both secure and accessible when your household needs them most.