

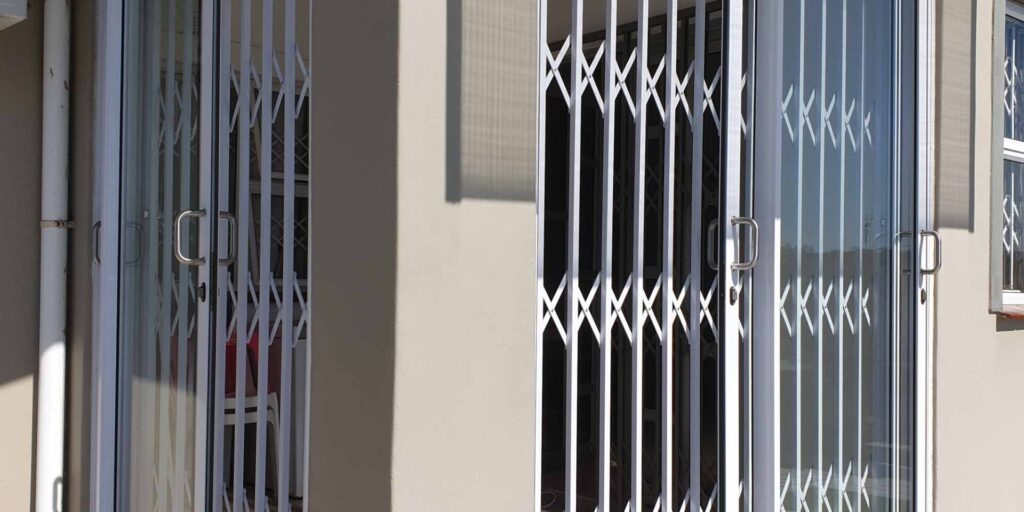



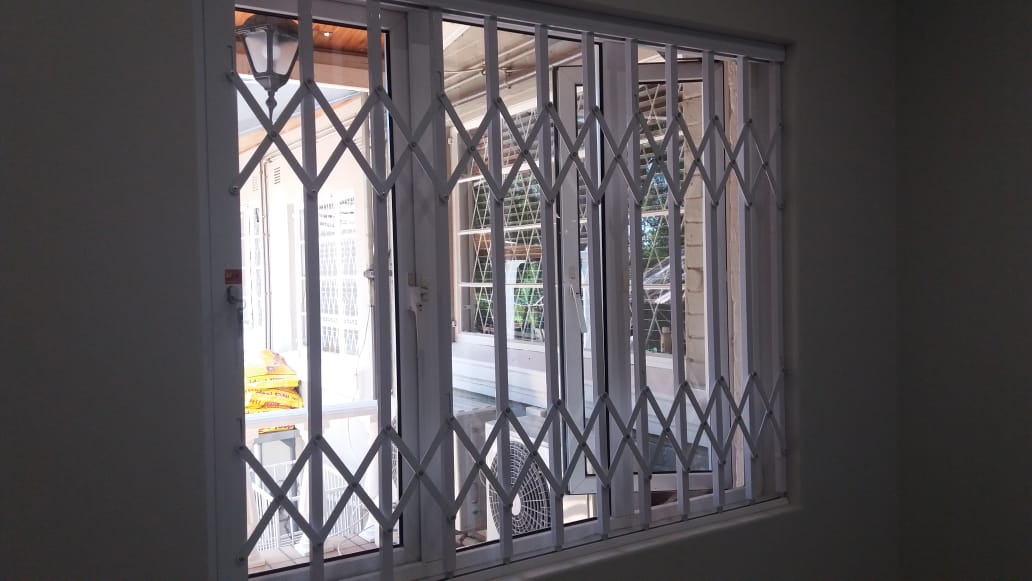
Most people assume that securing sliding glass doors requires drilling, permanent fixtures, or calling a contractor. Retractable trellis systems quietly dispel that assumption. These adaptable systems anchor firmly into the ground, retract on demand, and install with surprising precision — no permanent damage required. But the difference between a system that holds and one that fails comes down to three things most installers overlook. Get the foundation wrong, and everything built on top of it crumbles.
Ground Anchoring: Why It Prevents Wobble and Wind Damage
The stability of a retractable trellis fixture depends entirely on how well its base is connected to the ground. You’ll find that proper ground anchoring eliminates wobble and helps prevent wind damage to your patio protection system.
Heavy-duty anchors secure the base of trellis posts, stopping lateral movement and oscillation. When you drive anchors into firm soil rather than loose dirt, you maximise holding power against both vertical and horizontal forces. This rigid post fixation reduces the leverage that wind applies to the upper sections. Rust-free ABS plastic anchors resist corrosion and maintain their holding strength for longer than traditional metal alternatives.
Heavy-duty anchors secure trellis posts, stopping lateral movement and maximising holding power against wind forces.
Installing anchors 12 inches deep in clay or rocky soil ensures deep foundation stability. You can deploy no-dig anchors quickly, without excavation delays. Fully tightening connecting anchors prevents metal components from loosening over time due to vibration. A free on-site assessment can help identify the most suitable anchoring approach for your specific soil conditions and property layout.
Proper anchoring keeps your sliding glass components intact during strong gusts and storms. The great result: a secure, durable patio structure.
Marking and drilling holes: getting the spacing right
You’ll start by carrying out a temporary installation to verify your spacing before you commit to drilling permanent holes into your walls.
Mark your ground position using chalk or painter’s tape, then check your spacing intervals (typically 6 or 8 inches) against your actual door frame and surrounding design. For best results, ensure all components used meet SABS and UKAS approved quality standards before beginning your installation.
This verification step helps prevent costly drilling mistakes and ensures your retractable trellis door will operate smoothly once it’s fully installed. Use painters tape or masking tape to mark hole locations on finished surfaces to avoid permanent marks before you drill pilot holes.
Temporary installation for accuracy
Before drilling permanent holes into your door frame or wall, temporary installation ensures that every measurement aligns perfectly with your retractable trellis assembly. You’ll use nylon locking nuts on machine screws to test alignment before final tightening. Temporarily tighten the screws using an impact driver and a wrench to check the fit without fully setting them.
Insert binder rings through the remaining spine holes to attach carabiners for temporary cable clipping. Clip the carabiners onto the steel cables to hold the shades in place and prevent wind-induced sliding. Use spring-loaded locking cup hooks to line up with the screw wires and hold the shades temporarily. Use a homemade jig centred in the opening to pre-drill consistent hole spacing across all spine positions before any final fastening.
This verification process prevents costly mistakes. You confirm that your retractable trellis operates smoothly throughout its full range of motion. Once you’ve verified everything works properly, you’re ready for permanent installation with confidence and great results. For extra reassurance, consider booking a free home security assessment with a professional adviser to ensure your installation meets both security and design requirements.
Ground Position Marking Techniques
Once your temporary installation confirms proper alignment and operation, the actual positioning work begins with marking ground locations for permanent mounting.
You’ll position your retractable trellis doors in their final location and mark the ground at each post base using stones or stakes. Measure the distance between the two upright legs precisely, then replicate that spacing with your marking devices on the soil.
Use a string line positioned 100mm above ground level to ensure the area is level. Mark the trellis thickness at 10mm either side of the centre line to verify accurate spacing. Apply these measurements consistently across all post locations. Drill pilot holes at each marked position using a 6mm masonry bit before inserting wall plugs and screws for a secure fix.
Before drilling, use a spirit level to confirm the trellis sits perfectly level. This check prevents alignment issues during permanent installation and ensures your retractable trellis doors operate smoothly for years. Pairing your trellis installation with secure locking mechanisms helps ensure your entrance points remain both functional and well protected against intruders.
Spacing Verification Before Drilling
Precise spacing verification separates professional installations from amateur work, and getting your measurements right before drilling prevents costly errors and ensures your retractable trellis operates smoothly.
You’ll mark bracket positions using your calculated gap sizes, ensuring consistent placement across your head rail.
Measure the distance between your first and last bracket, then divide by the number of spaces to confirm each gap.
Double-check measurements at both the top and bottom of your installation area, using the smaller value if they differ.
This verification step protects your patio security investment by confirming slats fit properly within your run length.
You’re ready to drill once a visual inspection from standing distance shows balanced spacing without crowding or awkward gaps.
Mark the mounting nut positions accurately before making any holes.
For added peace of mind, consider working with specialists who use SABS and UKAS approved materials to ensure your security fixtures meet recognised durability and strength standards.
Avoid fully tightening screws initially when fastening brackets, as this allows bracket height adjustment and prevents accidental stripping of the screw heads during installation.
Installing Foot Pads and Shutter Walls: The Vertical Foundation
The foundation of any retractable trellis installation determines whether your security barrier will perform reliably for years to come. You’ll establish vertical stability by choosing appropriate foot pad systems and shutter wall brackets to anchor your trellis fixtures securely.
For outdoor installations, use 11-inch ground stakes driven vertically into soil until only 1–2 inches remain above the surface. This prevents tilting and ensures proper weight distribution. Indoor applications require non-slip pads placed under the base to allow positional adjustments while maintaining stability. Hardware included in the box, such as brackets and screws, should be installed in line with the manufacturer’s specifications to ensure a secure attachment.
Mark bracket locations precisely using painter’s tape on finished surfaces. Position brackets beneath existing structural elements and confirm that the installation area can support the total weight before drilling. This methodical approach creates the dependable vertical foundation your custom security installation requires. Wonder Bars follows a structured three-step process covering personalised consultation, customised design, and professional installation to ensure every security barrier is correctly specified and fitted from the ground up.
Measuring and Fitting Your Top Racks: Achieving a Precision Fit
You’ll measure pillar-to-pillar spacing at three points—top, middle, and bottom—to account for frame irregularities that affect your fit.
You’ll identify material trim requirements by calculating the exact rack length and accounting for any raised bed heights or foot pad dimensions that impact your total measurement. Prioritising high-grade materials over lower-grade alternatives ensures your trellis fixtures maintain structural integrity and deliver long-lasting protection across seasons.
You’ll verify alignment before installation by confirming vertical clearance and ensuring the installation area can support the trellis weight, which prevents costly adjustments after securing your fixtures. For long-term durability, T-posts secured at least 12 inches into the ground provide the stable foundation necessary to support heavier trellis systems without shifting or settling over multiple seasons.
Measuring pillar-to-pillar spacing
When installing a retractable trellis fixture for your sliding glass doors or patio area, getting the pillar-to-pillar spacing right makes all the difference to both its function and appearance. You’ll measure the total distance from the centre of one pillar to the centre of the next pillar to determine your precise span length. This measurement becomes critical for ordering and fabricating your top racks accurately. Using spacers to maintain uniform spacing will help ensure consistent alignment across multiple sections, just as spacers are essential when assembling hexagonal trellis frames to keep uprights properly positioned relative to each other.
| Measurement Type | Standard Range | Application |
|---|---|---|
| Pillar-to-Pillar Distance | 4-6 feet | Primary spacing |
| Centre-to-Centre Distance | 4-6 feet | Span calculation |
| End Reinforcement Posts | One pair per end | Corner stability |
| Offset Measurement Protocol | Ground-level survey | Compensation for irregularities |
| First Hole Alignment | One level down | Correct positioning |
Document each measurement carefully. Include an extra pair of posts at each end for corner reinforcement and structural stability. Take unique offset measurements using a level string line to account for uneven ground. Choosing high-quality, durable materials for your trellis components ensures the finished barrier withstands both weather exposure and persistent wildlife pressure over the long term. This precision guarantees your custom security barrier functions flawlessly.
Identifying Material Trim Requirements
Once your pillar-to-pillar spacing is set, you’ll move on to the materials that hold your top rack securely in place.
Your trim components must match your conduit diameter exactly. Choose PVC T-fittings with 1¼” openings for the posts and ¾” openings for the conduit sides, ensuring a snug fit with no gaps.
The top rack trim is designed to accommodate ¾” electrical conduit with tight tolerances to prevent any structural compromise. Match the trim opening sizes to your specific conduit diameter to avoid misalignment.
Check that the secondary holes in the trim components line up correctly with your pipe size. This level of precision prevents stress on the glass seals and maintains stability.
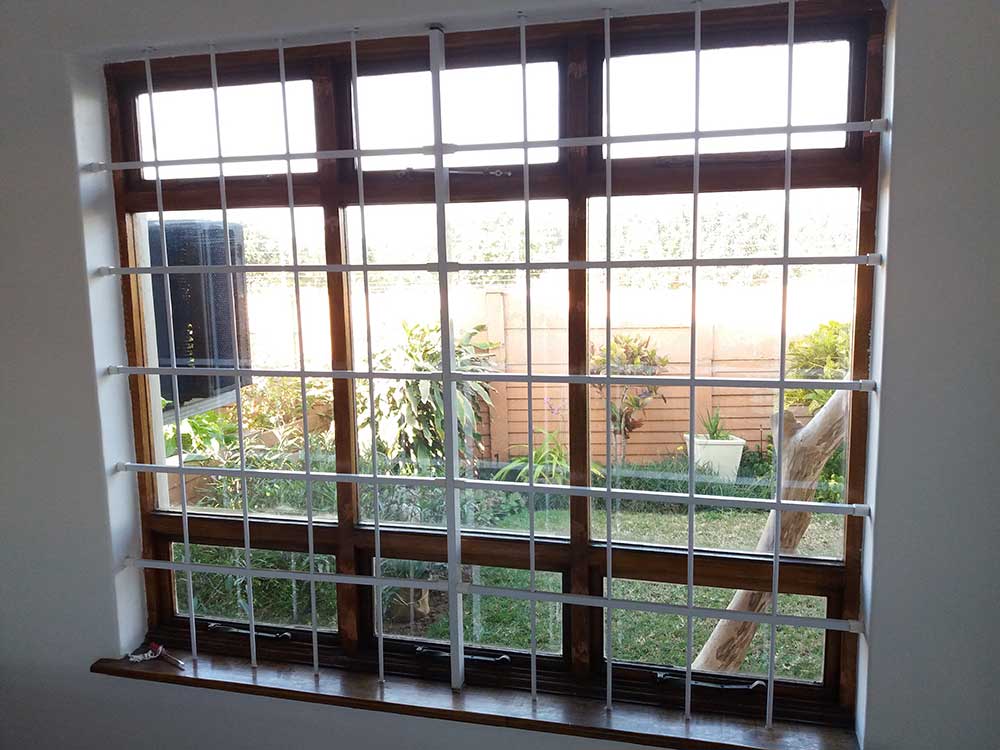
Whether you’re installing burglar bars for KZN properties or custom retractable fixtures, accurate trim dimensioning delivers excellent results and long-term security performance. For professional guidance on material selection and fitting requirements, Wonder Bars offers retractable trellis doors and bespoke security solutions from their Hillcrest facility in KZN.
Ready to secure your wide openings with premium, custom-fabricated security? Read our full guide on Retractable Trellis Doors to find the perfect durable solution for your home.
Verifying alignment before installation
Precision alignment determines whether your retractable trellis functions smoothly and secures your sliding glass doors effectively. You’ll achieve the physical security you need through careful measurement and verification before installation begins.
Start by using a tape measure longer than 20 feet to establish accurate layout measurements. Apply painter’s tape to mark pre-laid positions on finished surfaces, then use a laser level to verify that all mounting points remain perfectly level. Make drill marks on both the top and bottom mounting areas to ensure vertical alignment consistency.
Review the manufacturer’s instructions thoroughly to identify specific mounting location requirements. Confirm that marking points align exactly with the fastener locations stated in the installation guide. Detect hollow wall sections by drilling pilot holes, then use a stud finder to locate utility lines before proceeding.
Test stability by gently shaking the assembled trellis to confirm it is firmly positioned throughout.
Installing Screens and Securing All Panels: Completing the Frame
You’re now ready to bring together all the components you’ve prepared, and this stage determines whether your retractable trellis fixture will operate smoothly for years to come.
Start by making sure both screens meet correctly at the centre of your door opening. Check the diagonal measurements on each side—they shouldn’t differ by more than 1/8 inch. This precision matters for proper alignment and balanced operation.
Ensure both screens meet at the door’s centre with diagonal measurements within 1/8 inch for balanced operation.
Initially, screw only two of the five header track screws in place to allow for positional adjustments. Install the final component using an Allen key to lock the frame securely. Fasten the screen housing at each corner using four #8 x 3″ screws.
For home security applications in South Africa, this careful assembly ensures your retractable trellis fixture delivers both an attractive appearance and reliable protection for sliding glass doors and emergency escape routes.
Testing Smooth Operation: Your Final Verification Checklist
With your frame securely fastened and all components properly aligned, the next step is to verify that your retractable trellis fixture operates exactly as designed. You should confirm smooth movement through complete open and closed cycles. Listen carefully for grinding, squeaking, or twisting sounds that indicate misalignment.
Test these critical functions:
- Check that the sliding glass glides without binding or dragging resistance
- Verify that the locking mechanism engages securely when the panel moves abruptly
- Ensure that motorised or manual operation responds smoothly without hesitation
Clean the guide rails and tracks thoroughly before testing. Remove debris, leaves and dust that could obstruct movement. Wonder Bars Durban recommends scheduling annual professional inspections to maintain peak performance. Stop operation immediately if you notice any abnormal sounds or resistance. Proper testing protects your investment and ensures reliable security for years to come.